

Installation Guide

Written by Farjanul Nayem
Last updated
MartX includes a guided web installer — no command-line migration steps required for a fresh install.
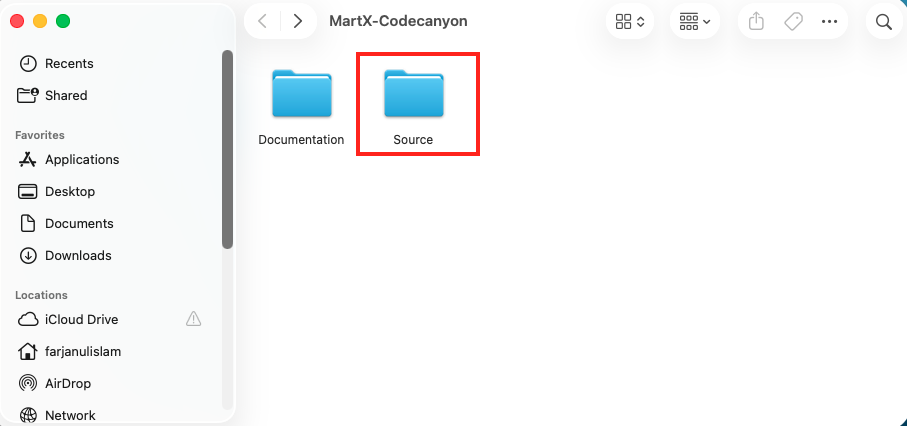
Upload the files
Upload the entire contents of the package to your server. Point your domain or subdomain's document root at the public/ folder (not the project root).
Visit your domain
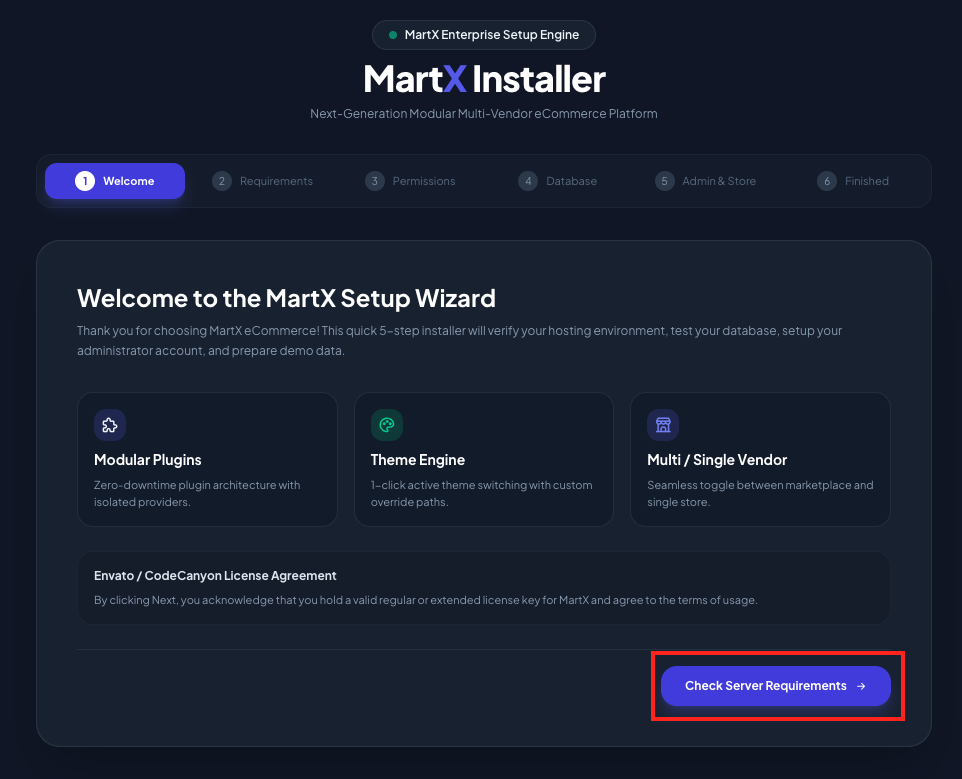
Open your site in a browser. Since the store isn't installed yet, you'll be redirected automatically to the setup wizard at /install. Example: http://example.com/install
Then click the red-marked button.
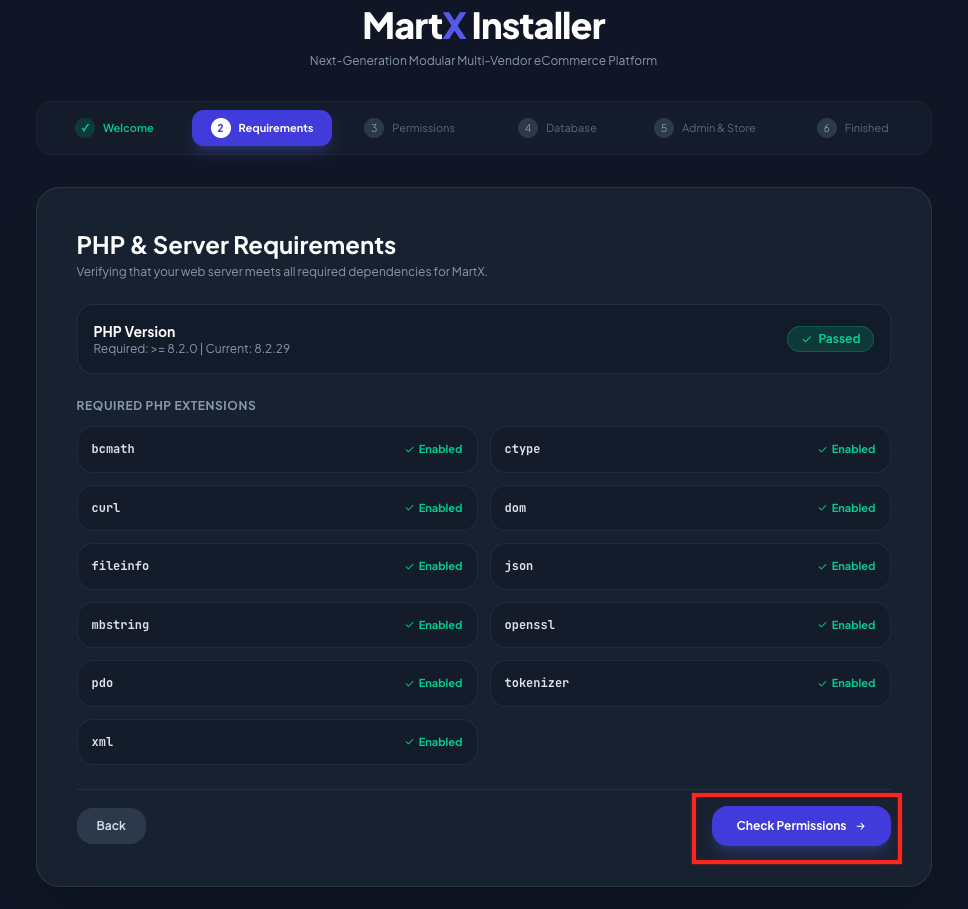
Then
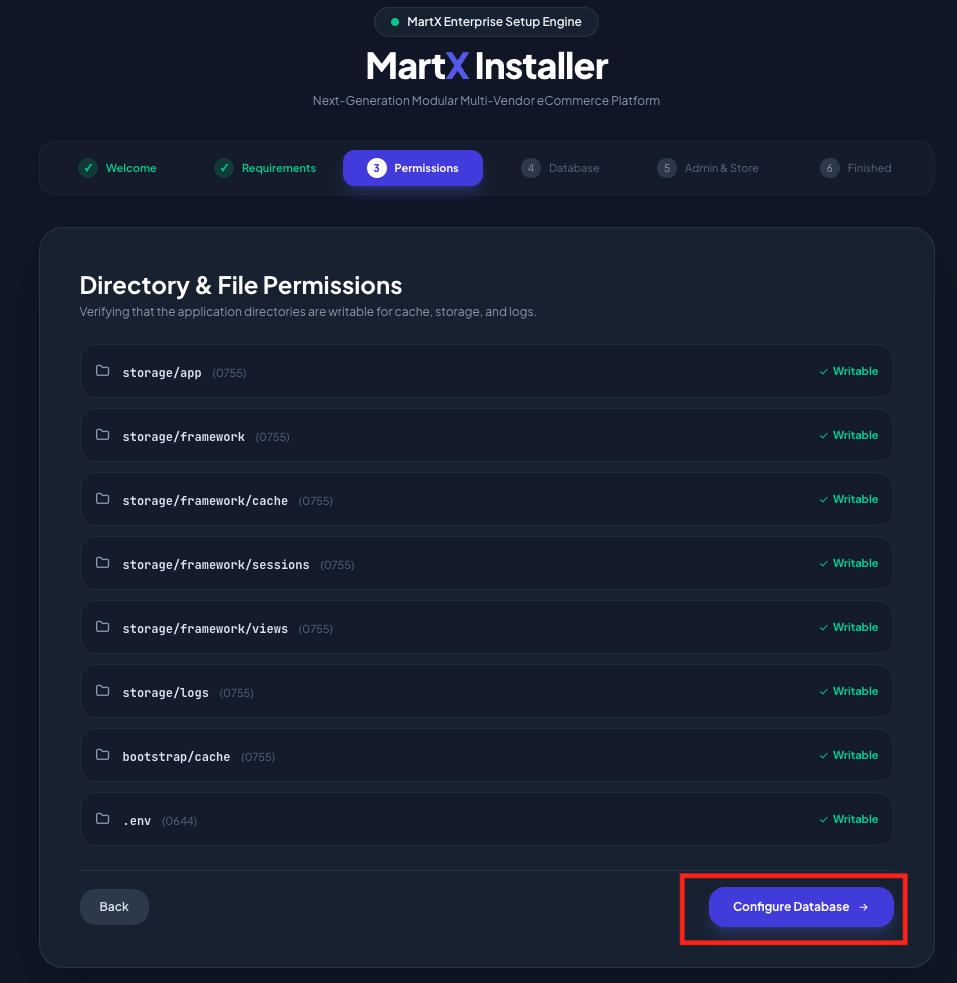
Then
Database connection
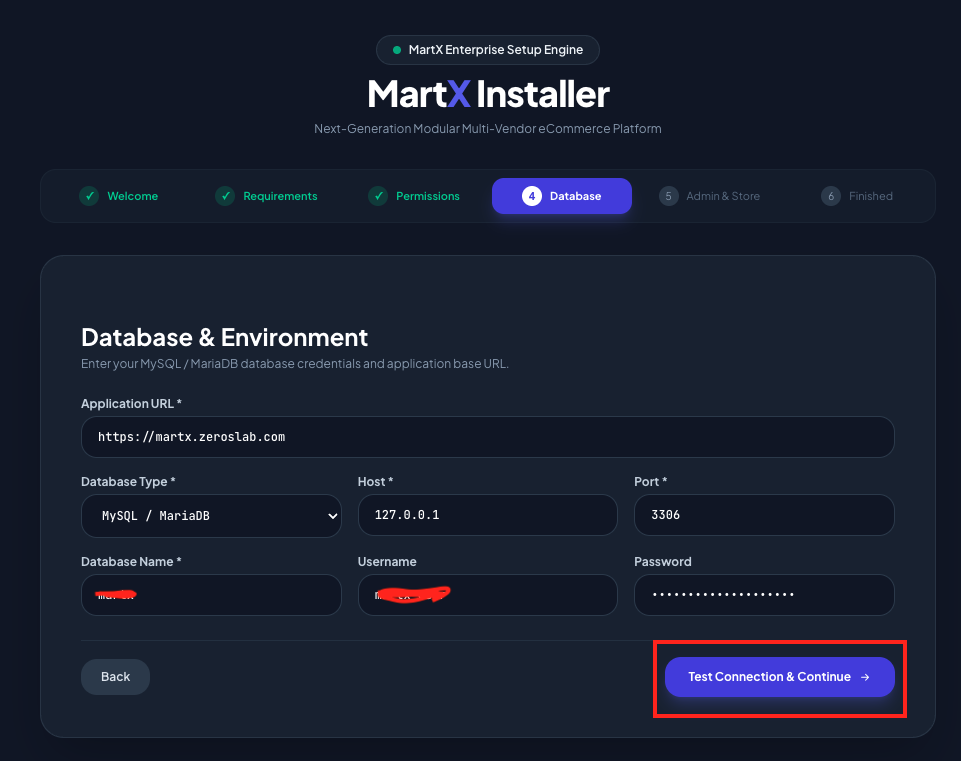
Create a mysql/mariadb database and username, then fill up the form, then click the red-marked button.
Store & admin account
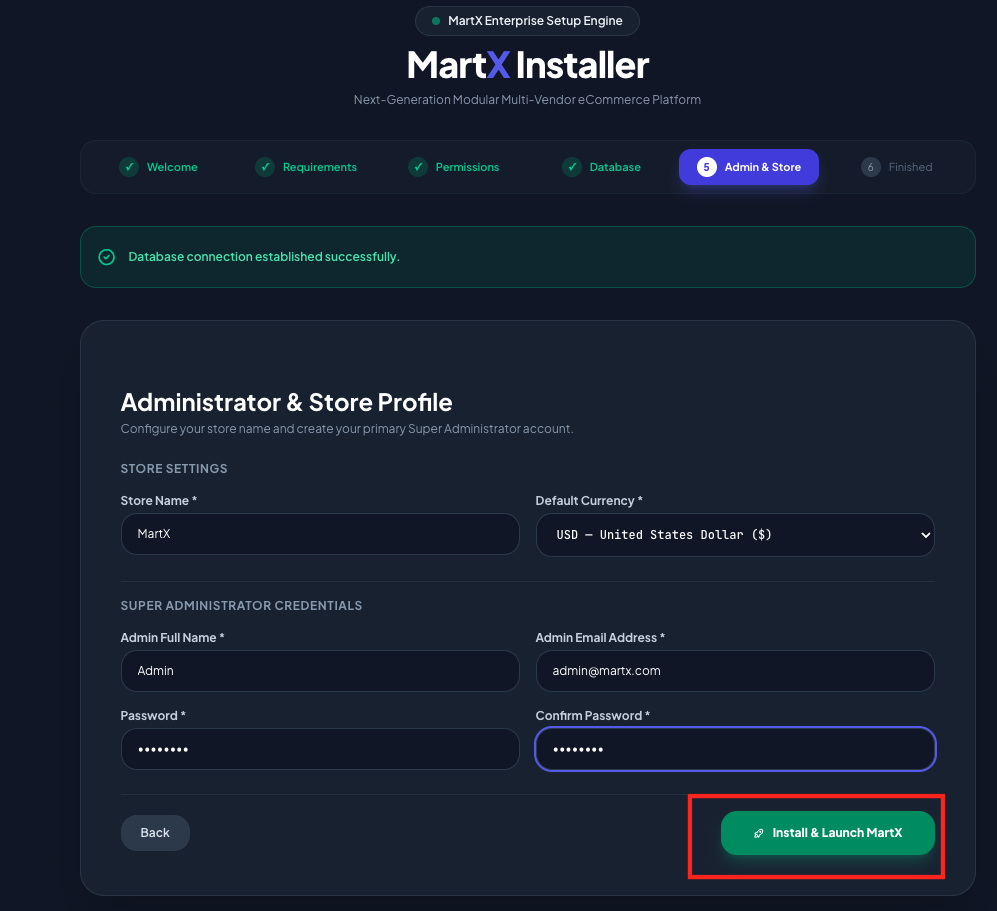
Set your store name and currency, and create your Super Admin account (name, email, password). Then click the red-marked button.
Finish
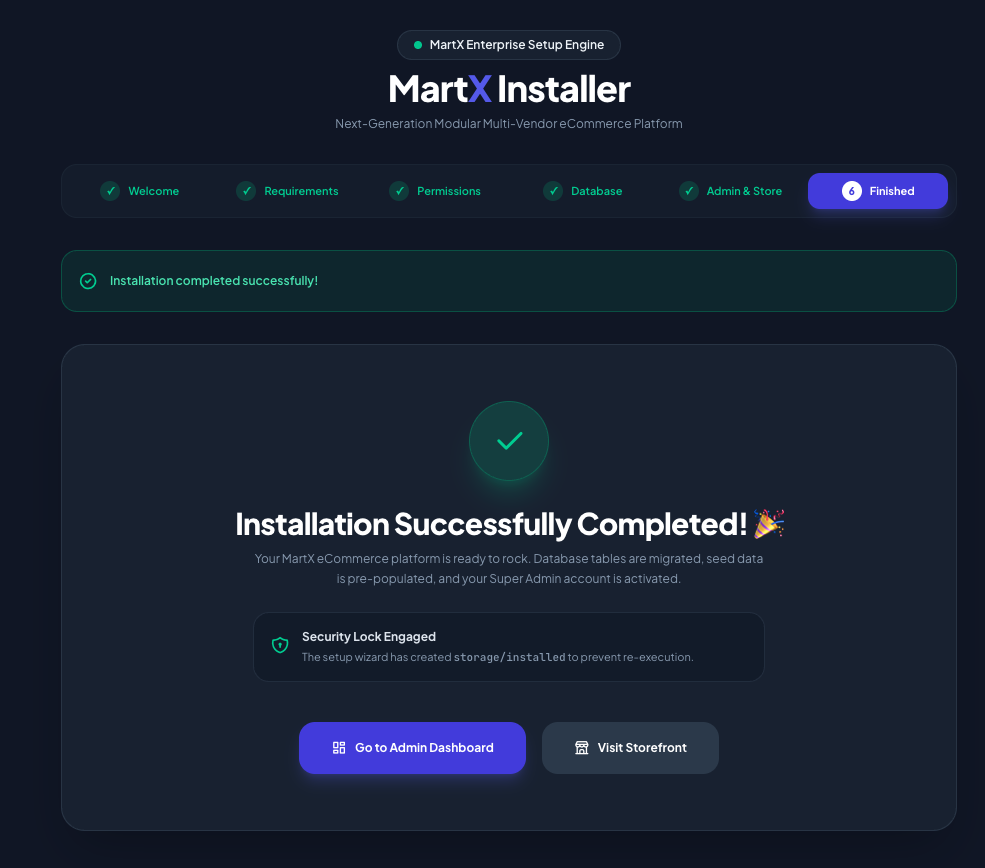
The wizard runs your database migrations, applies your settings, and locks itself so it can't be re-run accidentally. You're redirected to the admin login — you're ready to go.
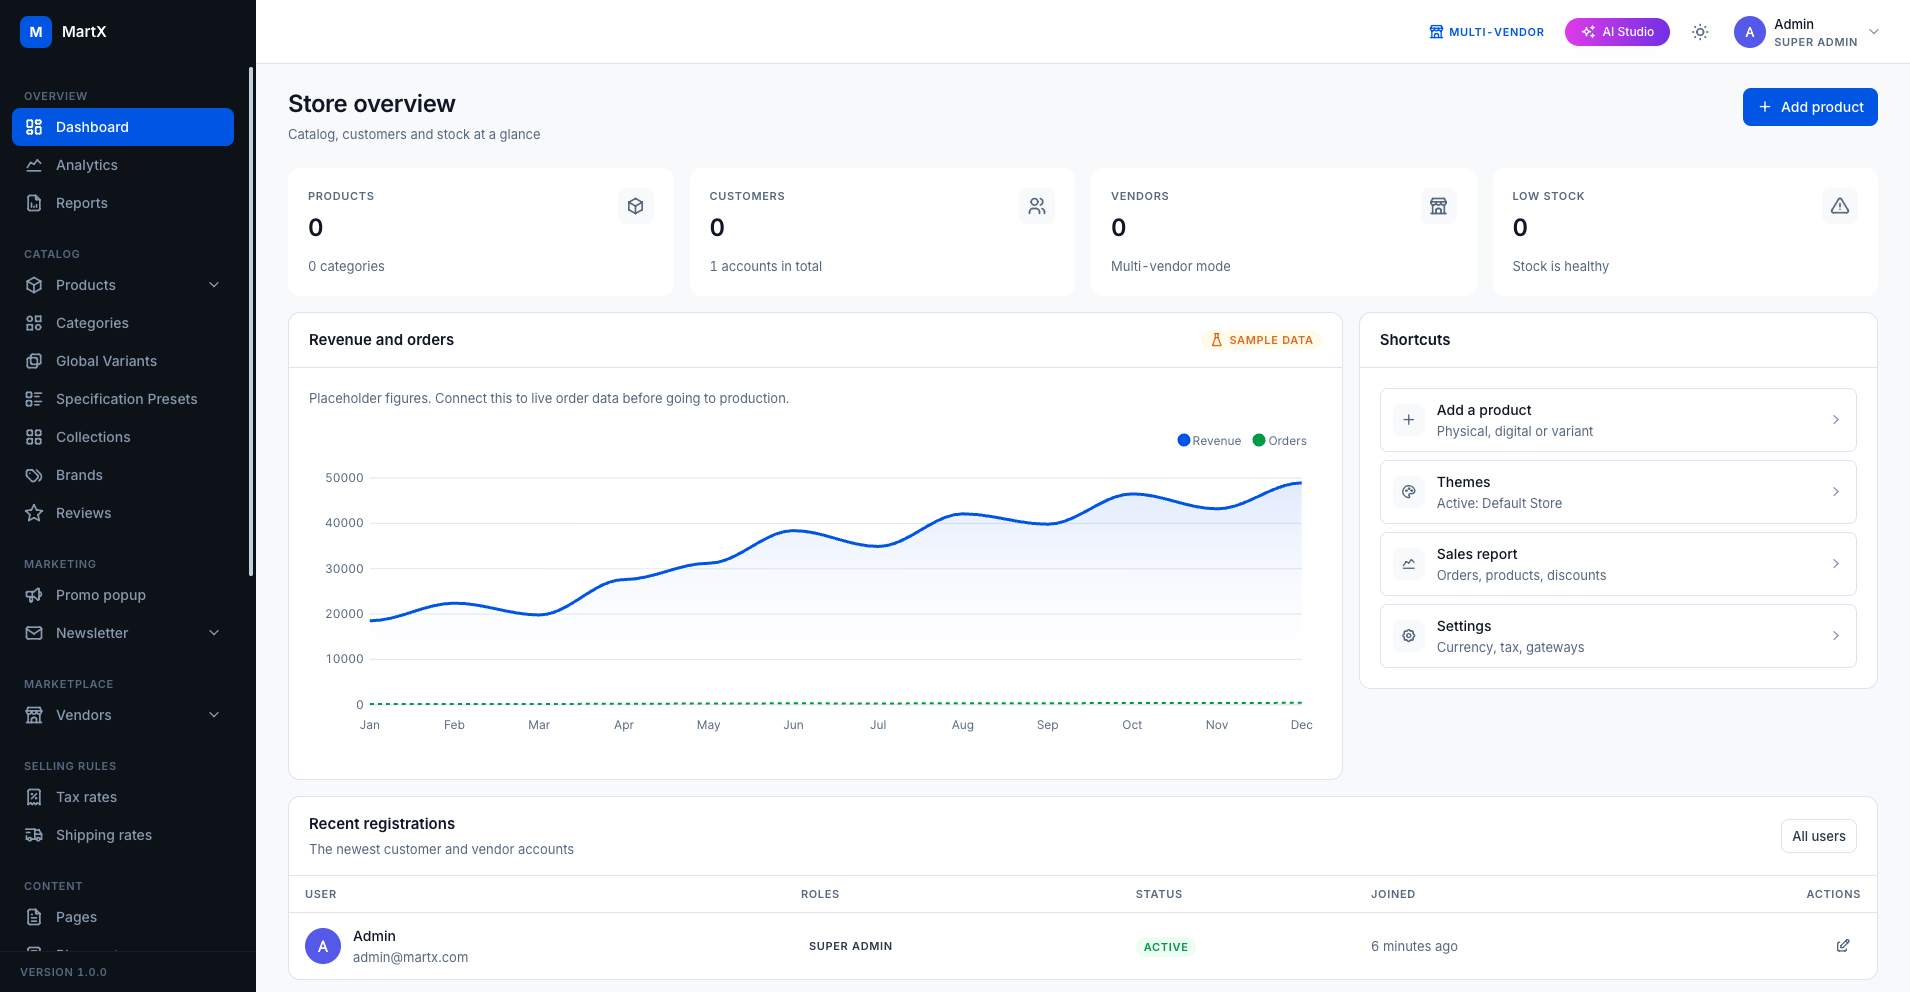
Now visit this https://example.com/admin/login route for admin login. Enter your credentials and press the login button. You can see the dashboard.
Demo Data
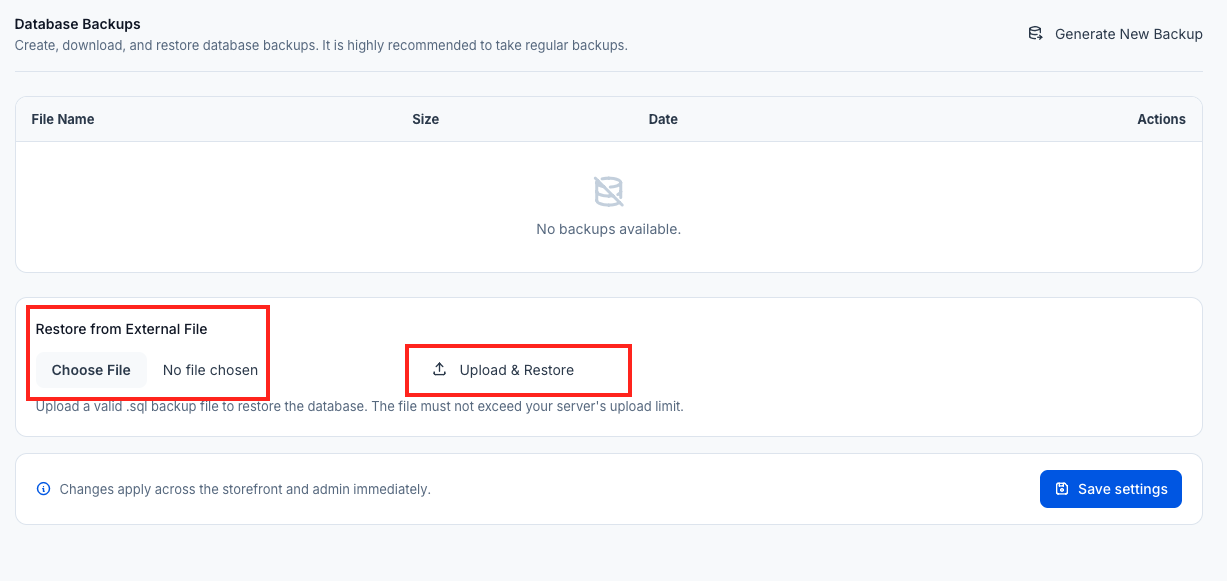
Now visit http://example.com/admin/settings#backup and upload demo data.
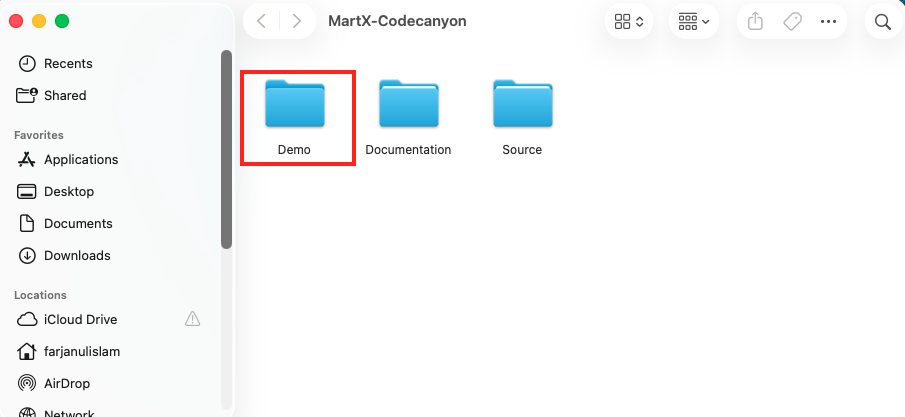
Choose demo data from the downloaded folder.
Click the Restore from External File button to choose the demo file, then click the Upload & Restore button.
That's good! Now visit http://example.com and enjoy.